Robo Blockly basics

!

Robo Blockly is a block-based, open-ended visual programming language that allows to write complex codes for Robo Wunderkind robots, sometimes it can be difficult to master, and can be complicated. This is why we recommend it as a next step after Robo Code and as a tool for more advanced coders.
In this tutorial, you will get to know Robo Blockly interface and basics, as well as create your very first Blockly project.
1. Robo Blockly Basics2. Robo Blockly Coding Interface3. Code Blocks & Coding Logic4. Create Your Very First Code5. Exiting & Saving Your Project
To complete this tutorial you will need:

1

Robo Blockly Basics

Turn the Main Block on and connect to the Robo App
There are 3 Robo tabs to check out.
Create a new project to continue with the tutorial.

2

Robo Blockly Coding Interface

Welcome to your Coding Screen or canvas, here you can find different buttons & icons.

3

Code Blocks & Coding Logic

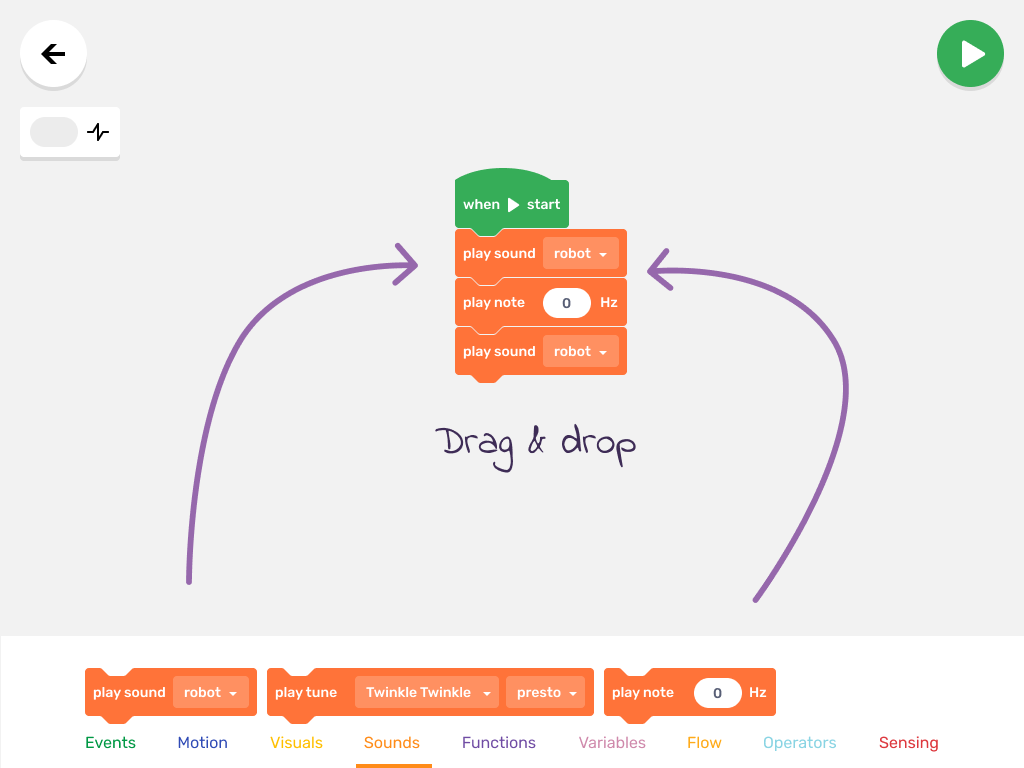
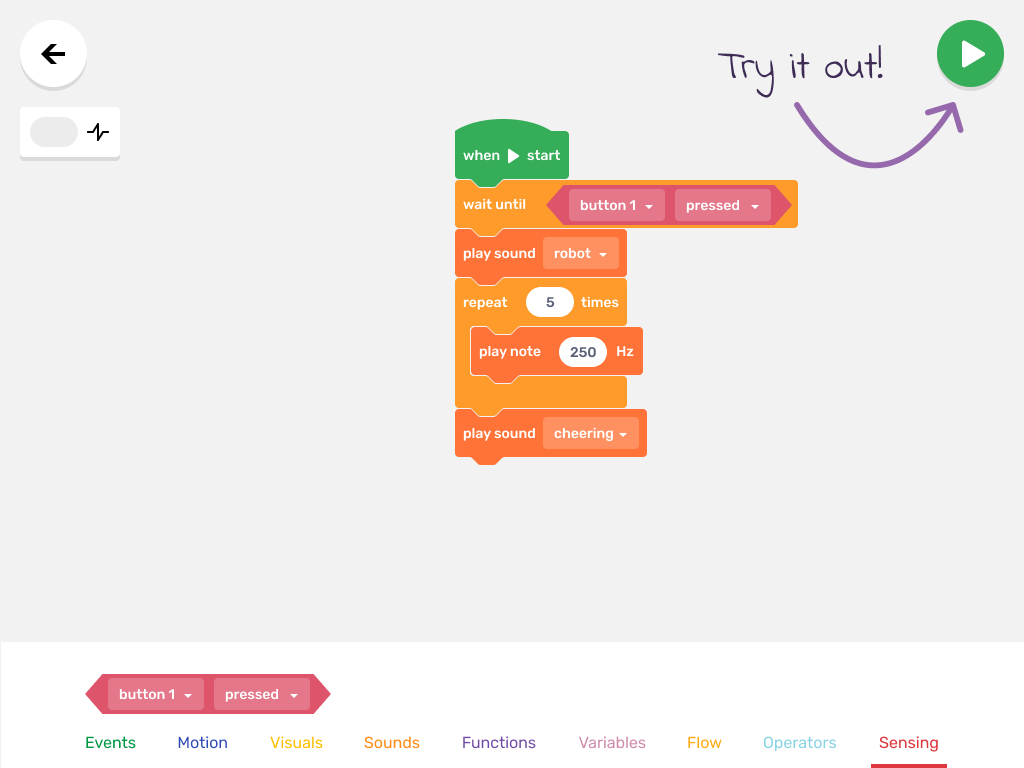
There are 9 types of the Code Blocks in the Code Blocks Menu:
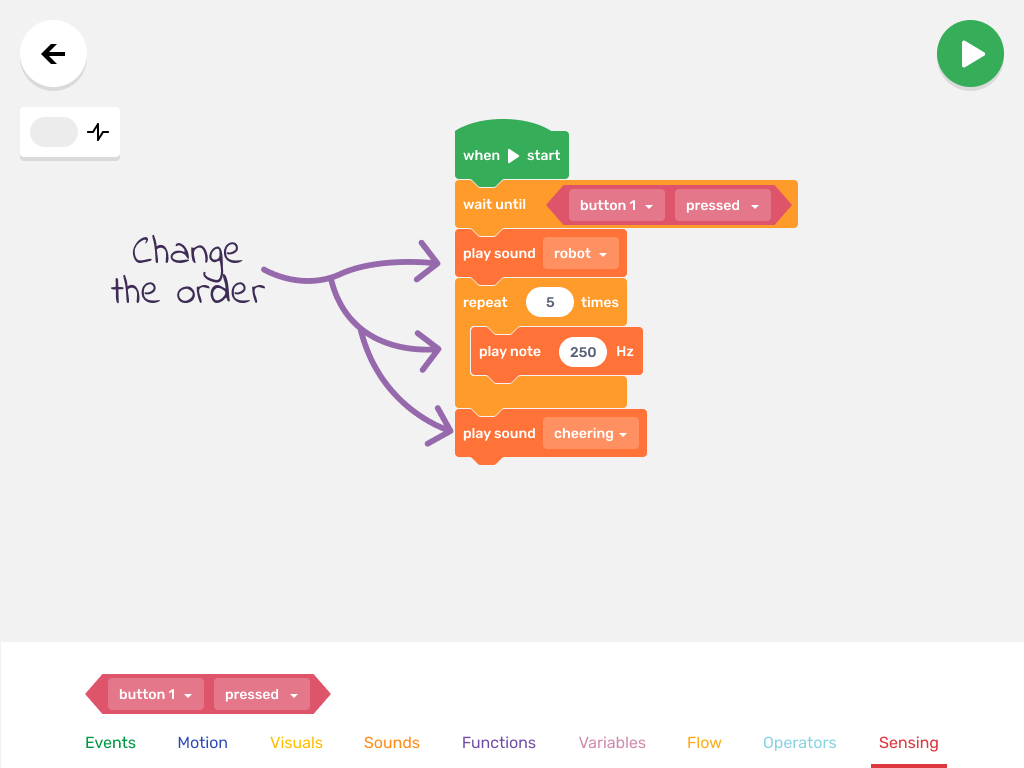
Some of them correspond with Robo Wunderkind blocks’ inputs and outputs such as Sounds, Visuals, Motion and Sensing.
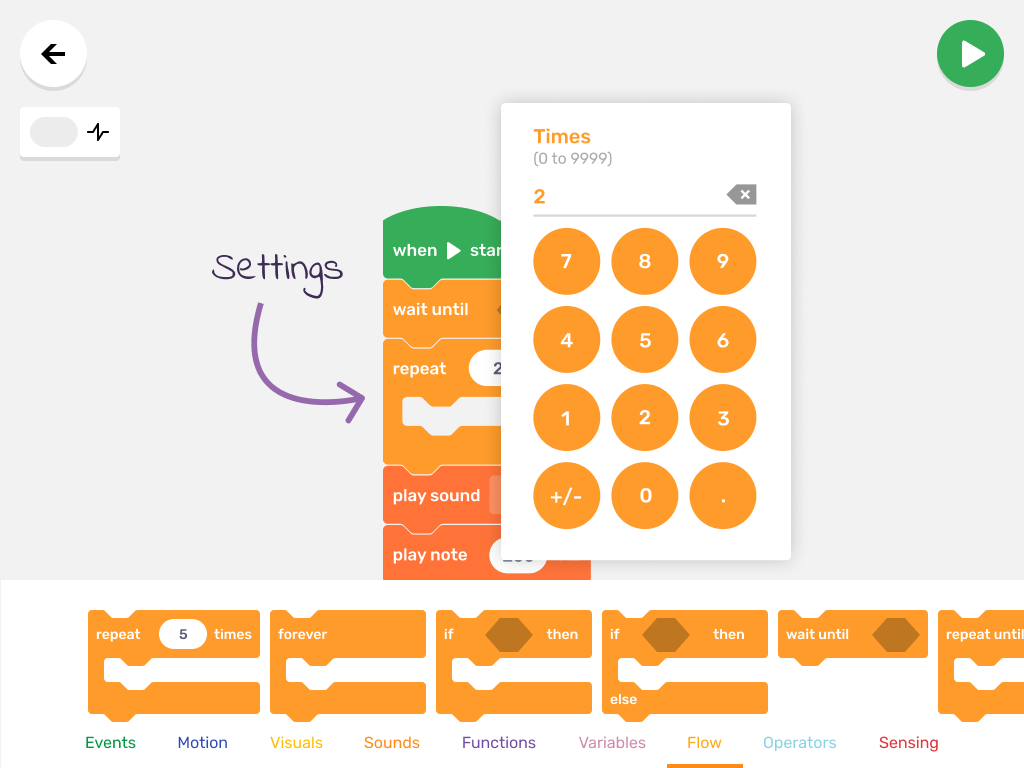
The other Code Block types help you to structure your code, such as Events, Functions, Variables, Flow and Operators.

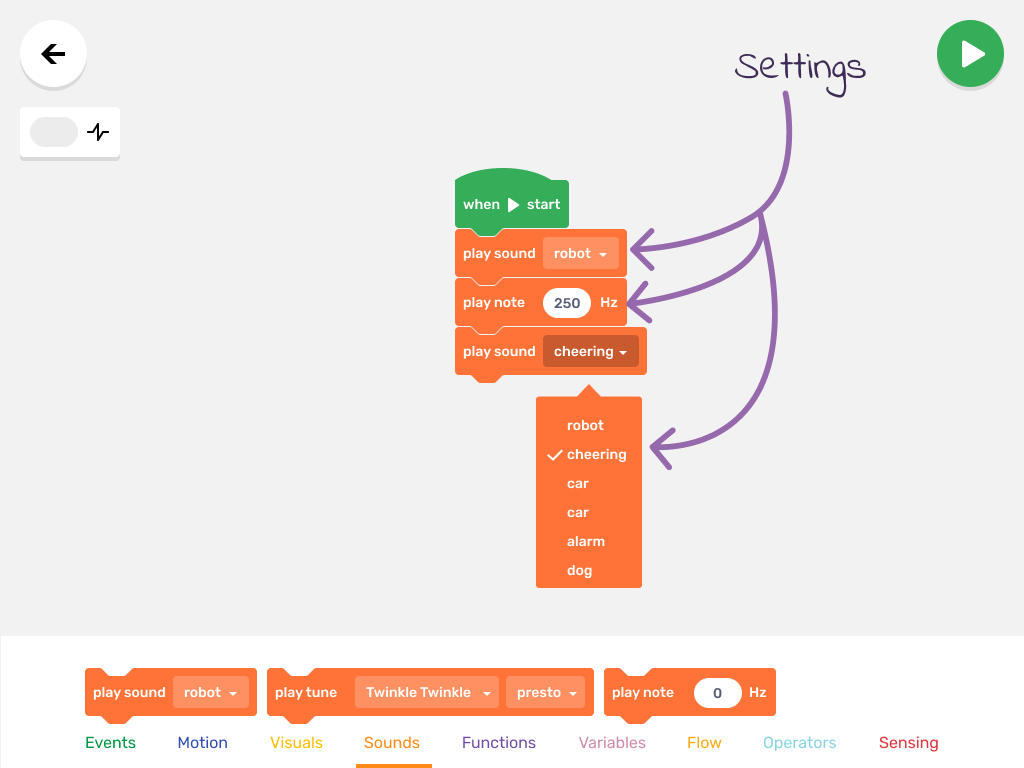
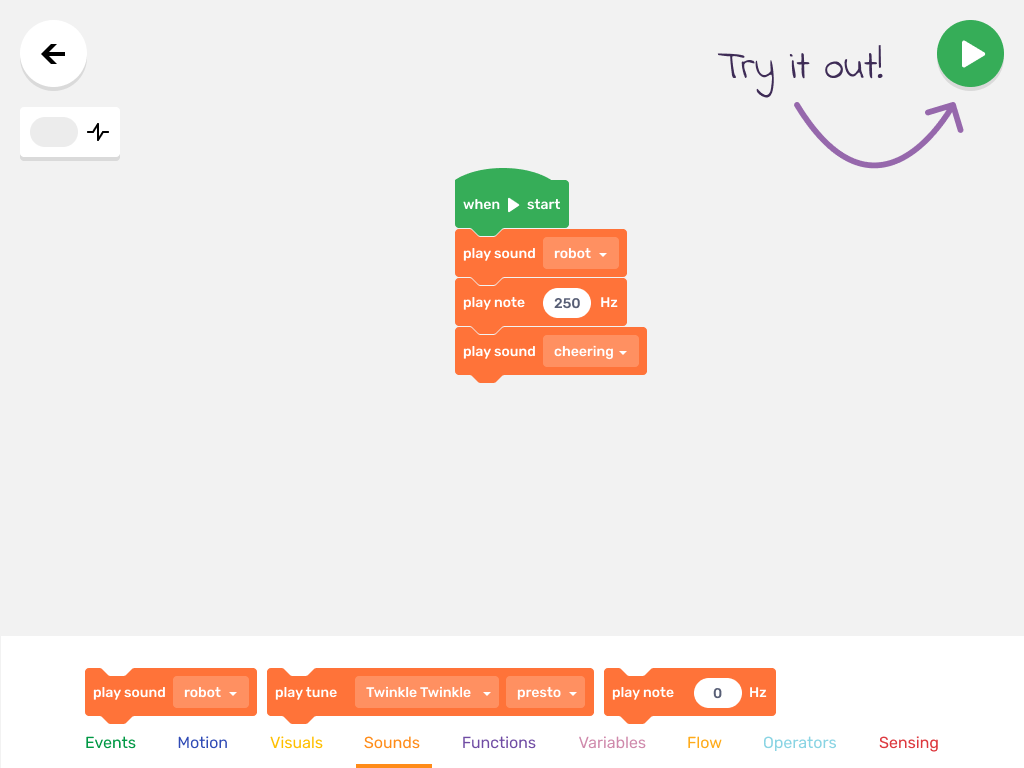
Place the Code Blocks one below another, so they are connected to create a code.

A lot of theory, so let’s try that out!

4

Create your very first Blockly code

Let’s create a simple code to test how the Code Blocks work. Follow the steps below.

Add some Code Blocks to the Program Start

Drag and drop them so they are connected into a code.

Change some settings

Try out your code

Press the Play / Stop Button. The green dot on the left side of your code shows you the Program Flow

Explore the Flow Blocks

Program your robot to repeat a piece of code a few times or forever. Try it out and follow your Program Flow.

Congratulations

You just created your very first Blockly code!

5

Exiting and saving your project

Press the Save & Exit Button